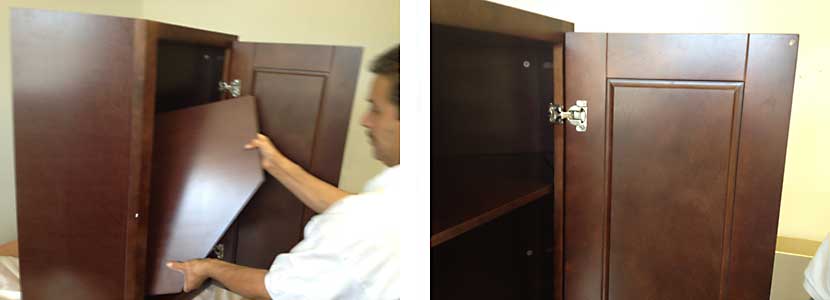
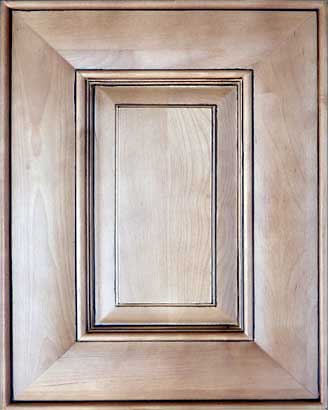
Individual Cabinet Assembly Instructions
Recommended Tools:
 |
 |
 |
 |
 |
| Flathead / Philips Screwdriver Required Tool |
Electric Screwdriver Recommended Tool |
Rubber Head Hummer Recommended Tool |
3/4" Staples Gun Recommended Tool |
Hot Glue Gun Recommended Tool |
Base Cabinet
STEP 1:
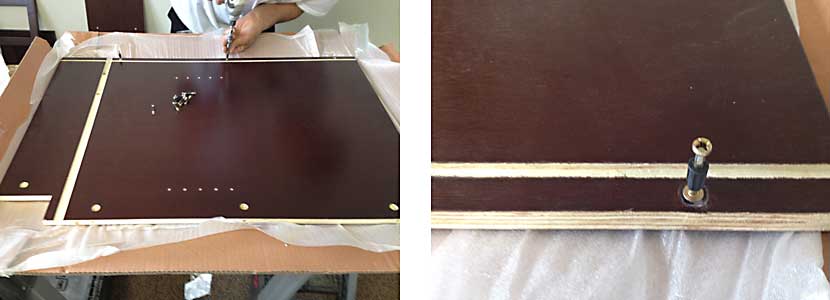
Screw posts into pre-drilled holes of the side panels.
STEP 2:
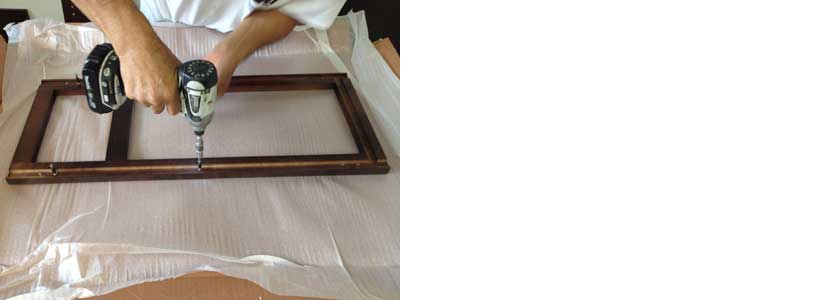
Screw posts into pre-drilled holes of the frame.
STEP 3:
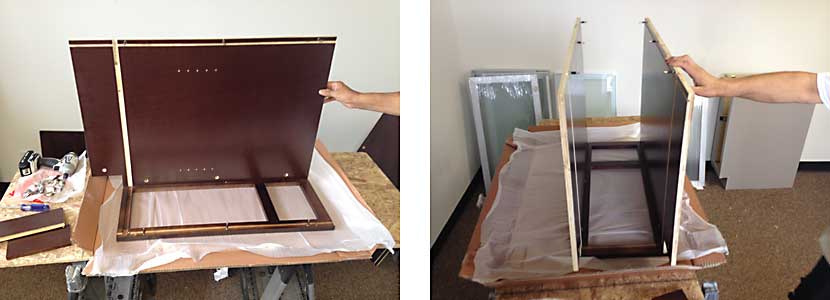
Place side panels into the grooves of the frame without tightening the cam locks.
STEP 4:
Slide the floor panel of the cabinet into the grooves of the side panels and place the back panel into the grooves and posts of the side panels.
STEP 5:
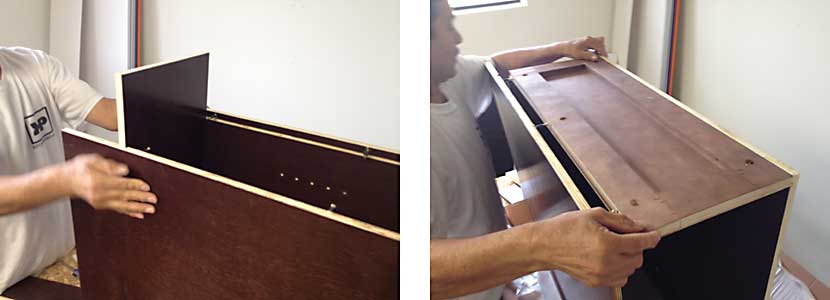
Tighten all cam locks of the base assembly.
STEP 6:
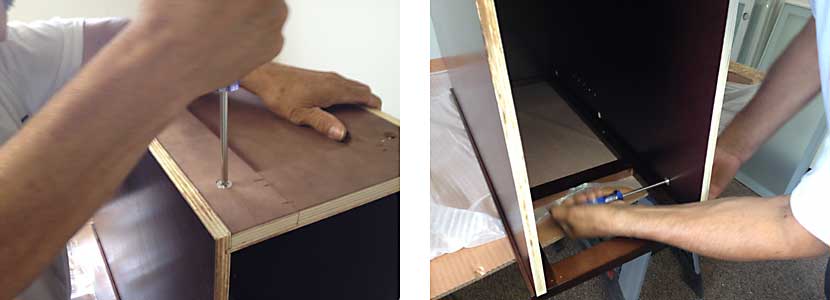
Lay the cabinet onto its back and attach the toe kick.
STEP 7:
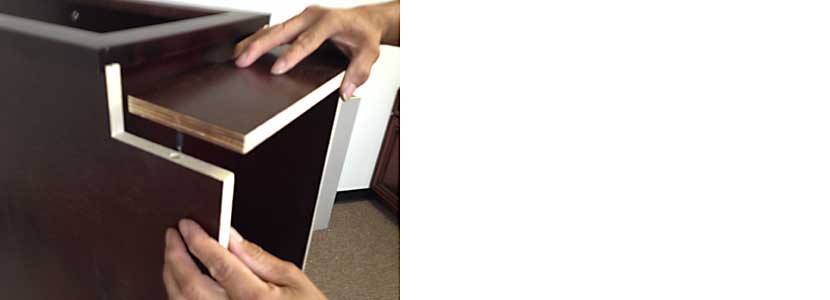
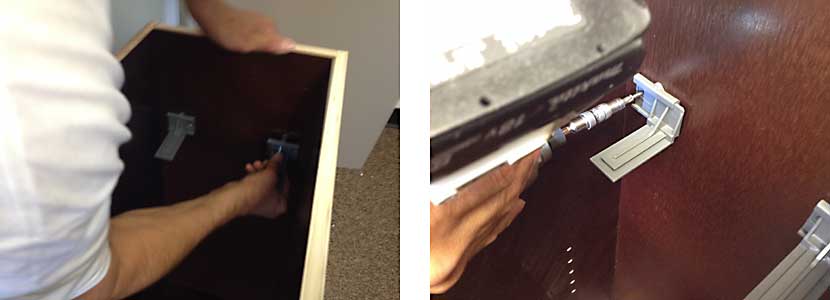
Attach and screw into place the plastic glide brackets.
STEP 8:
Place the back of the glide into the bracket and pull the glide flush with the front of the frame. Secure the glide to the 3/4" inside drawer opening of the frame with one screw (the glide does not touch the side panel of the cabinet).
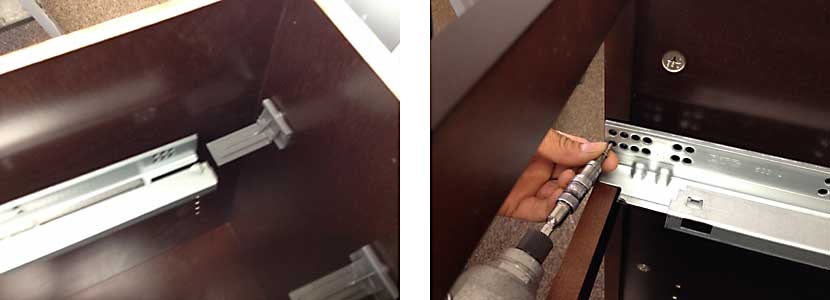
STEP 9:
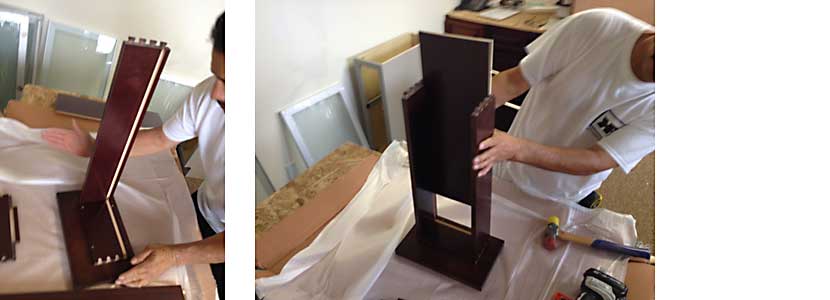
Assemble the drawer box.
STEP 10:
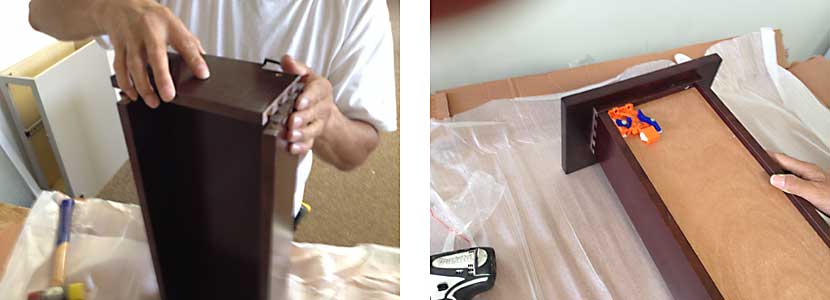
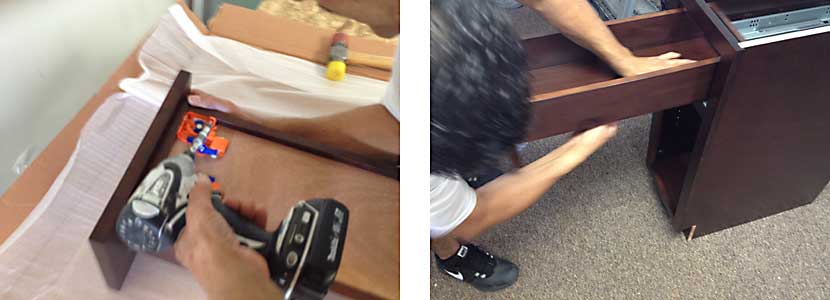
Attach the glide finger-locks to the bottom of the drawer box. The release levers will face the center of the drawer box.
STEP 11:
Pull the glides out and lay the drawer box onto the glides, pulling the glides into the finger-locks until they are engaged.
STEP 12:
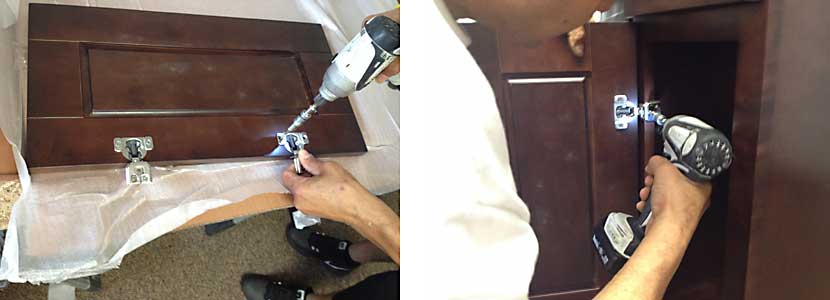
Attach the hinges to the door and the door to the cabinet. Place the clear rubber bumpers on the door and drawer corners and install the shelf to complete assembly.
Base Lazy Susan
STEP 1:
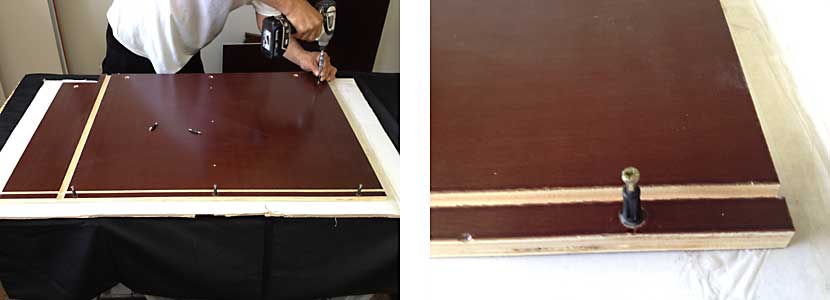
Screw posts into the pre-drilled holes of the side and back panels.
STEP 2:
Attach the side panel (24" wide) to the back panel (36" wide) and secure by locking cams.
STEP 3:
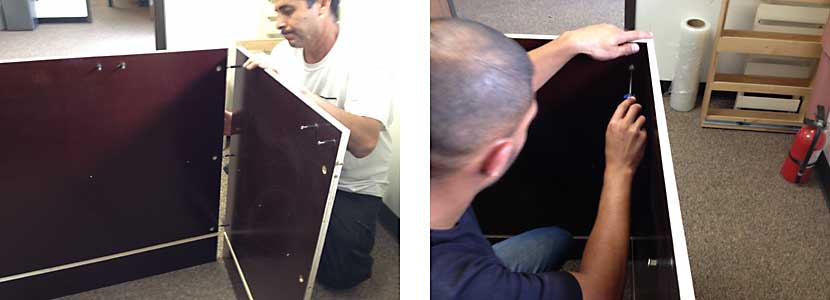
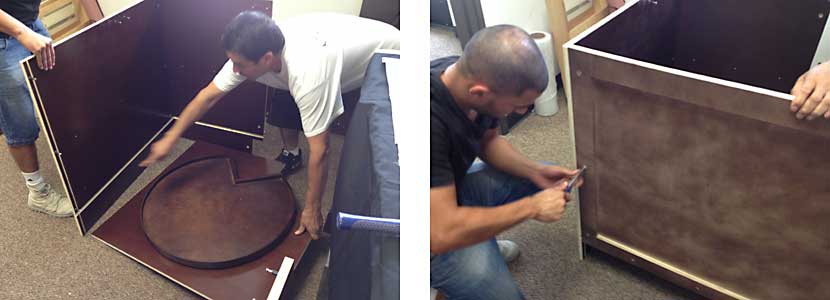
Insert the larger shelf with the lazy susan tray into the grooves at the bottom of the side and back panels. Then attach the remaining side and back panels.
STEP 4:
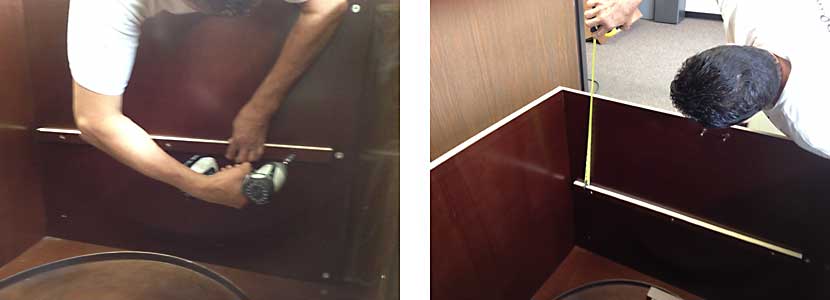
Attach the three cleats to the side panels and back panel using the black screws provided. Check to insure that the cleats are level.
STEP 5:
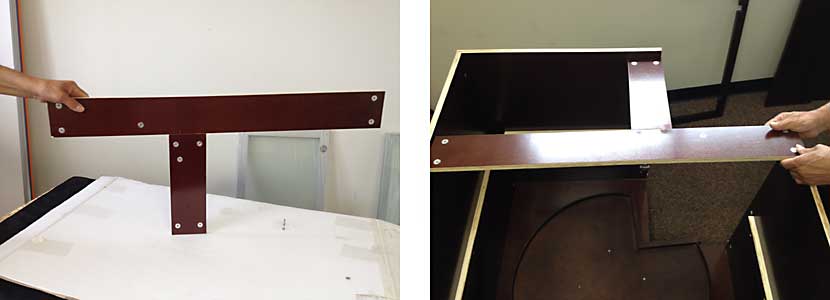
Assemble and install the cross braces to the back and side panels. First, insert the small brace into the side panel. Second, insert the long brace into the back panel, and then insert the long brace into the side panel. Complete attachment by tightening the cam-locks.
STEP 6:
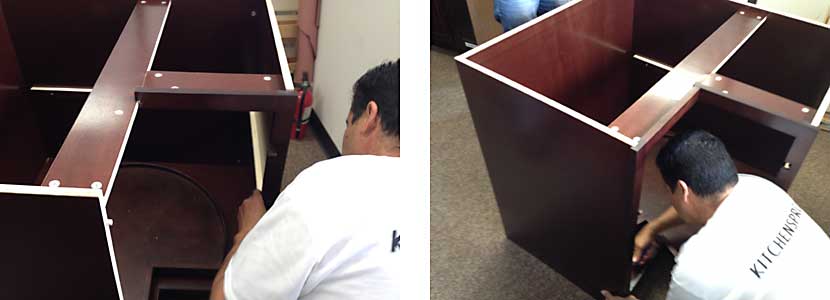
Attach the frame piece with the hinge notches to the side panel, the brace and the bottom shelf. Then attach the second frame piece.
STEP 7:
Assemble the tock kick pieces, lay the cabinet onto the back panel and attach the toe kick by tightening the cam-locks. Make sure the cam-locks attaching the frame pieces to the bottom shelf are also securely locked.
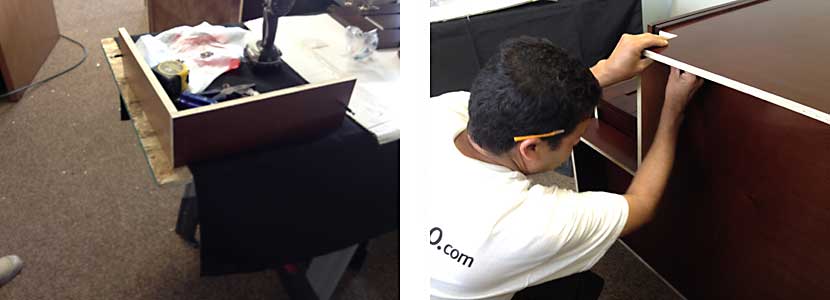
STEP 8:
Attach the frame-to-door hinges and the door-to-door hinges using the silver screws provided. Attach the double door assembly to the side panel. Be careful as this placement will effect the doors' alignment.
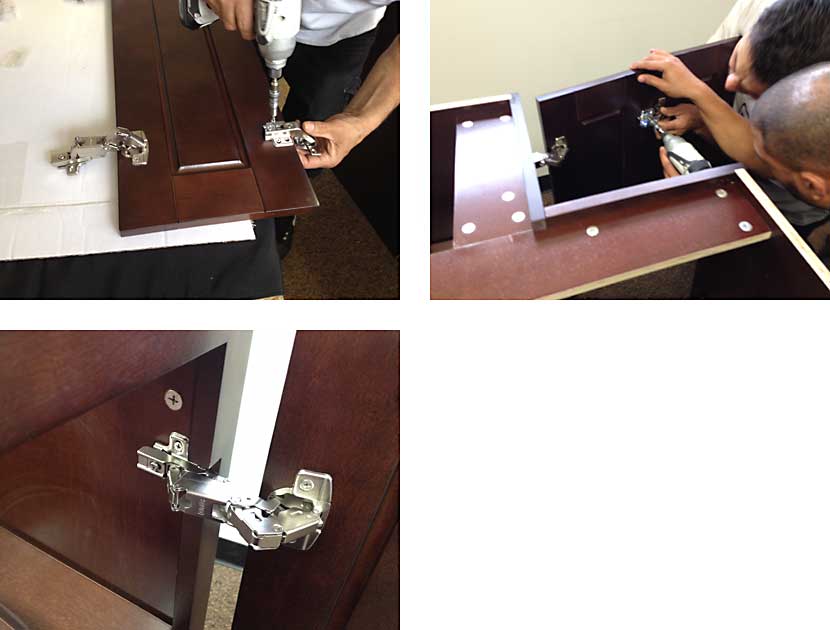
STEP 9:
Place the smaller shelf with the lazy susan tray onto the cleats.
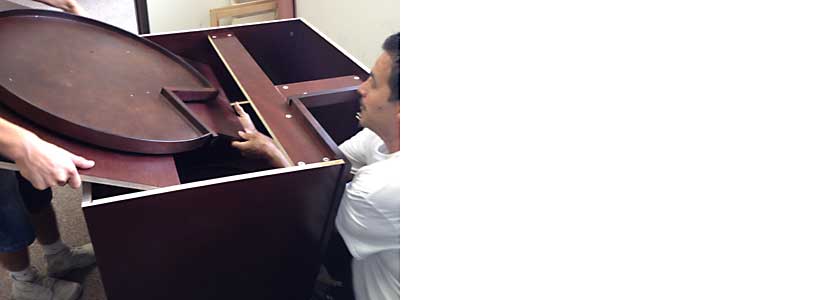
STEP 10:
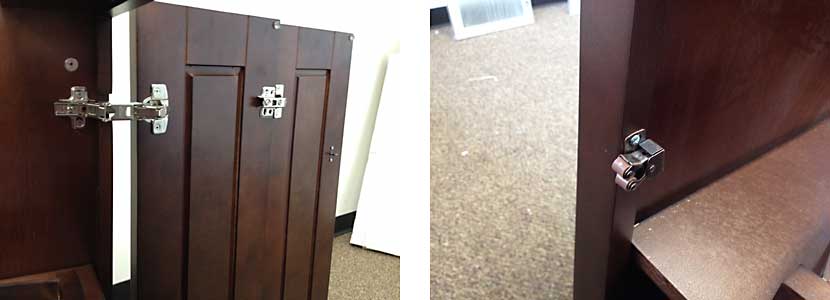
Attach the clear rubber door bumpers and spring roller closure to complete assembly.
Wall Cabinet
STEP 1:
Screw the posts into the pre-drilled holes of the side panels and frame.
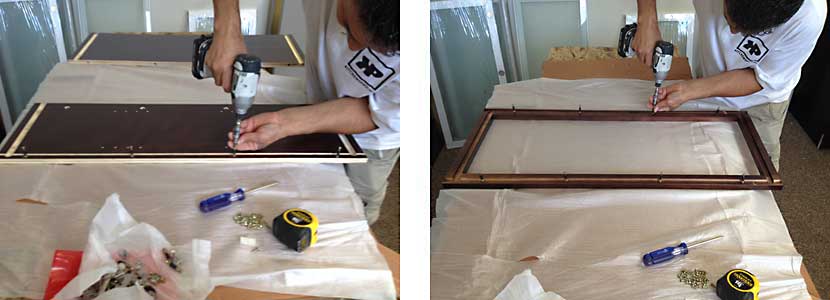
STEP 2:
Insert the side panels into the grooves of the frame, leaving the cam-locks to be secured later in the assembly.
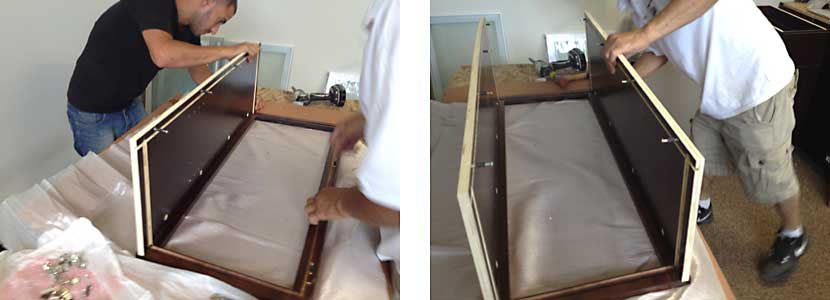
STEP 3:
Insert both the top and bottom panels into the grooves of the side panels and frame.
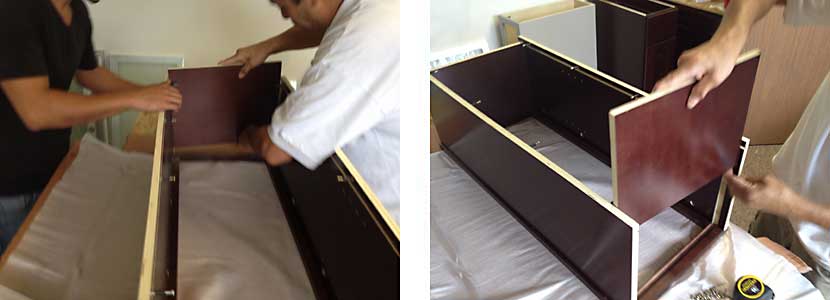
STEP 4:
Insert the back panel into the posts of the side panel and then separate the panels to set the back panel in place.
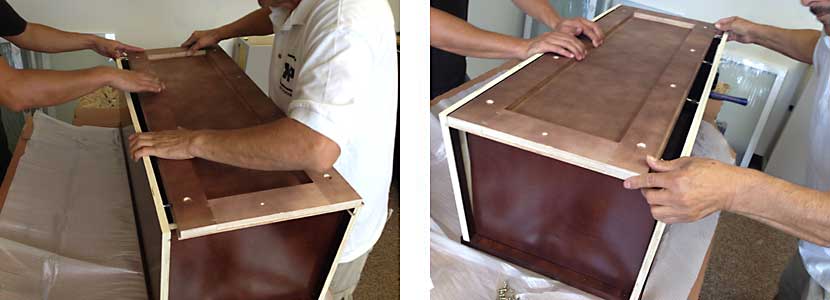
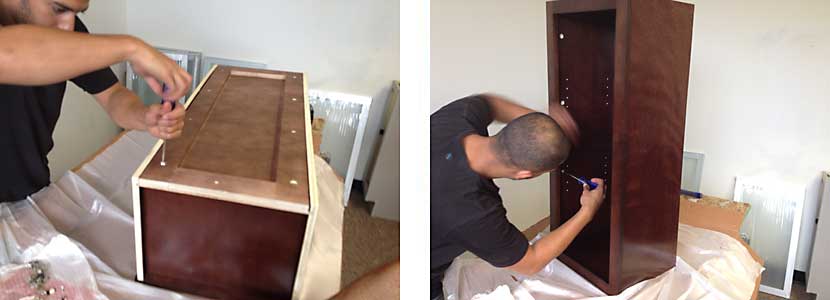
STEP 5:
Secure the cam-locks of the back panel and also the interior cam-locks, securing the side panels to the frame.
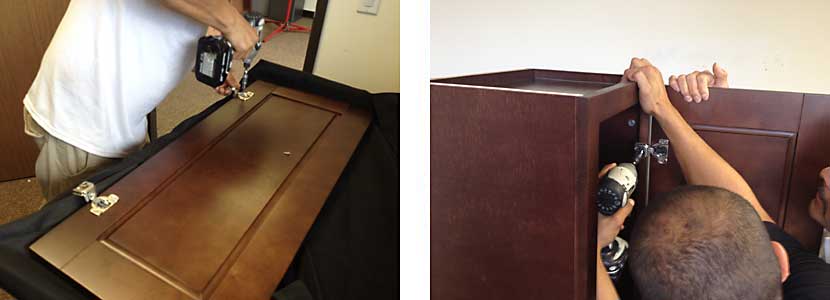
STEP 6:
Attach the hinges to the door and the door to the frame of the cabinet.
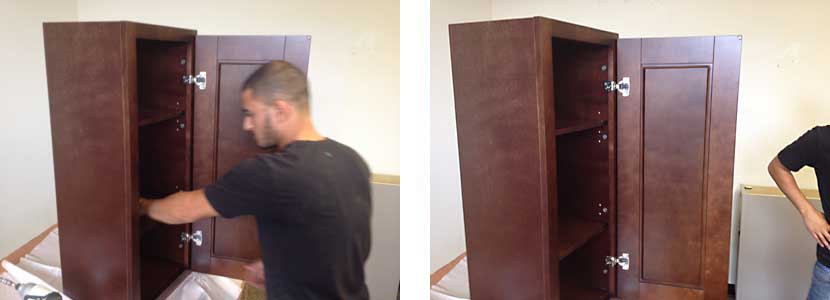
STEP 7:
Install the shelves and apply the clear rubber bumpers to the door corners to complete assembly.
Wall Diagonal Corner
STEP 1:
Screw the posts into the pre-drilled holes of the side panels, back panels and frame.
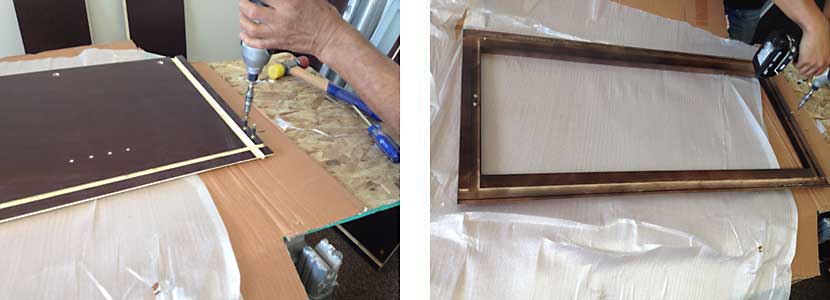
STEP 2:
Attach angled brackets to the four corners of the frame and secure the side panels to the frame using the same angled brackets.
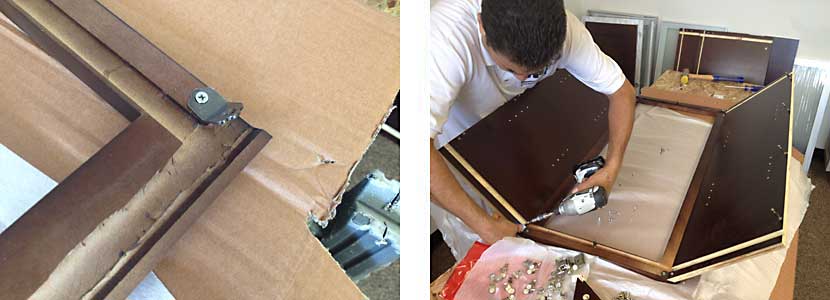
STEP 3:
Place the top and bottom panels into the grooves of the side panels and frame, and attach one of the back panels, securing the panel with the cam-locks.
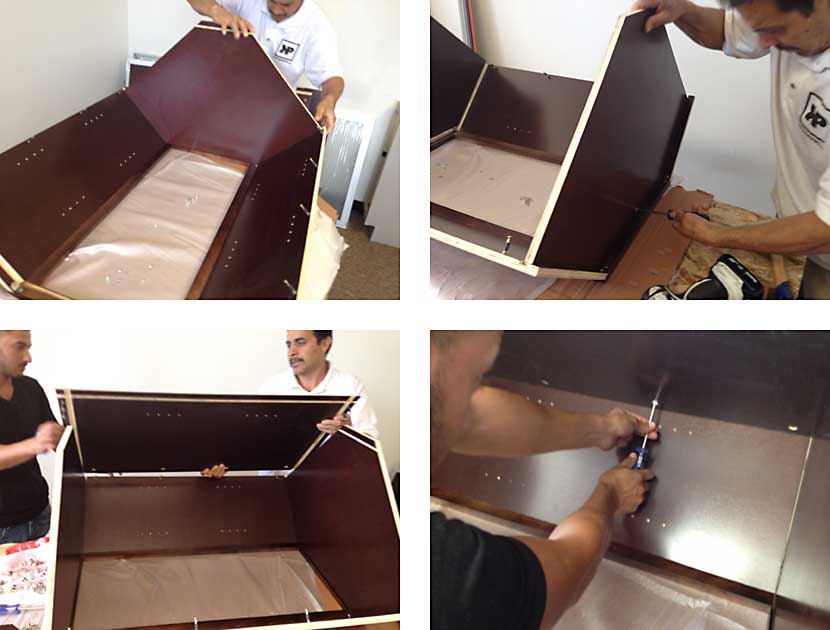
STEP 4:
Attach the second back panel, leaving the interior cam-locks to be secured later in the assembly.
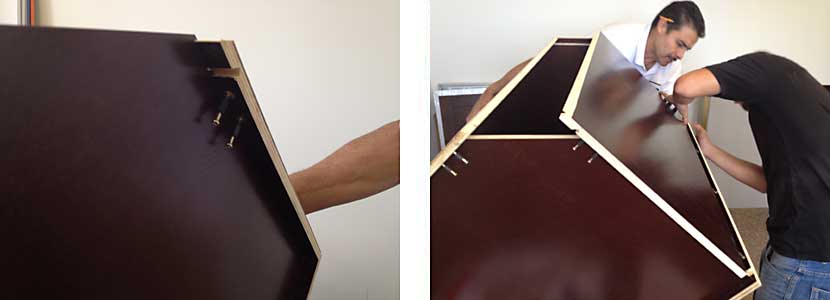
STEP 5:
Install the larger corner brace at the bottom of the cabinet and the smaller brace at the top of the cabinet. From the top, slide the clipped corner panel into the grooves of the back panels.
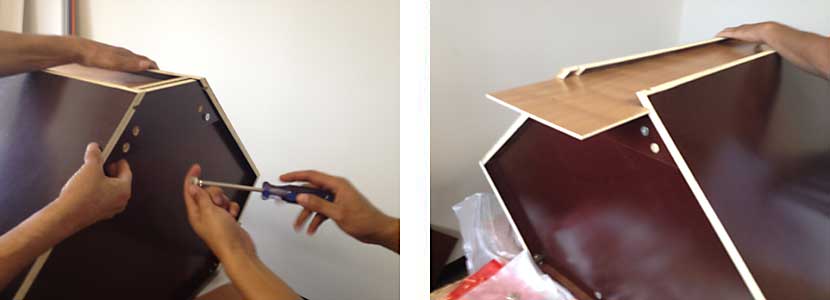
STEP 6:
Stand the cabinet upright and secure the interior cam-locks of the second back panel.
STEP 7:
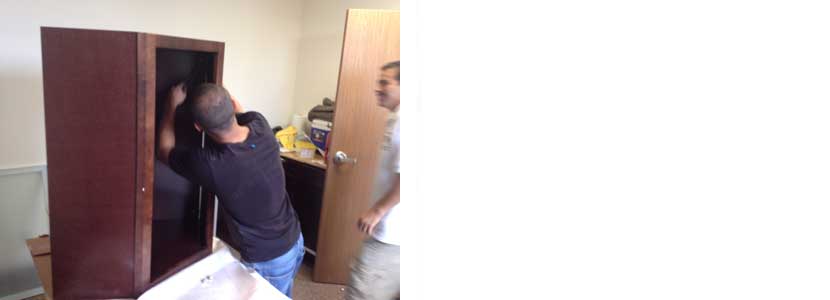
Attach the hinges to the door and the door to the frame of the cabinet.
STEP 8:
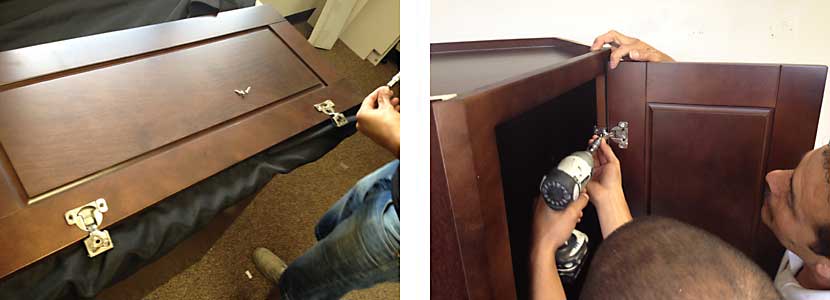
Install the shelves and apply the clear rubber bumpers to the door corners to complete assembly.
