Individual Cabinet Assembly Instructions
 |
 |
 |
 |
 |
| Flathead / Philips Screwdriver Required Tool |
Electric Screwdriver Recommended Tool |
Rubber Head Hummer Recommended Tool |
3/4" Staples Gun Recommended Tool |
Hot Glue Gun Recommended Tool |
Base Cabinet
Place side panels into grooves (dadoes) of the face frame. It is best to remove the doors until after the cabinets are installed.
Make sure grooves (dadoes) align for the bottom panel.
Secure both panels to the face frame using the 4 enclosed brackets.
Slide the bottom panel of the cabinet into the grooves (dadoes) of the side panels and face frame.
Make sure the box is adjusted properly and square.
Slide in the back panel and connect the four wood corner brackets to secure the side panels to the face frame and back panel.
Secure the back panel into the bottom panel using the two supplied screws.
Secure the side panels to the back panel using qty 3 - 3/4" staples on each side.
Attach the toe kick panel using screws or staples.
Attach the plastic shelf holders into the inside holes and install the shelf.
Connect the plastic glide brackets to the back panel using the pre-drilled holes and supplied screws.
Attach the back of the metal glides to the plastic glide brackets and pull the glide near flush to the front of the face frame. Secure into face frame with supplied screw.
Assemble dovetailed sides of the drawer box to the drawer front.
Slide drawer box bottom into the grooves of the drawer sides and drawer face.
Complete drawer box by assembling dovetailed drawer box back to drawer box sides allowing the drawer bottom to fit into the groove of the drawer back.
Extend glides and slide drawer box onto the glides so that the metal hooks on the back of the glides fit into the holes on the back of the drawer box.
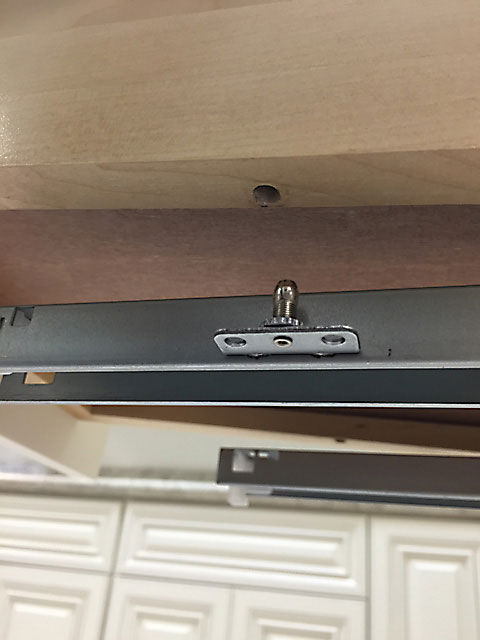
Set the front of the drawer box down onto the glide so that the leveling post fits into the predrilled hole on the bottom of the drawer box side. There is a threaded disc that can be adjusted to level the drawer front of the cabinet.
Attach the door and hinges to the cabinet box to complete assembly.
Base Lazy Susan
Locate face frame pieces.
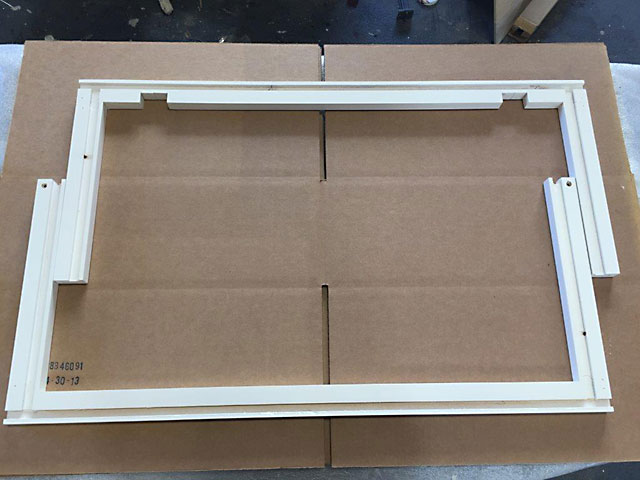
Place side panels into the grooves (dadoes) of the face frame making sure to align the grooves (dadoes) to the top and bottom panels.
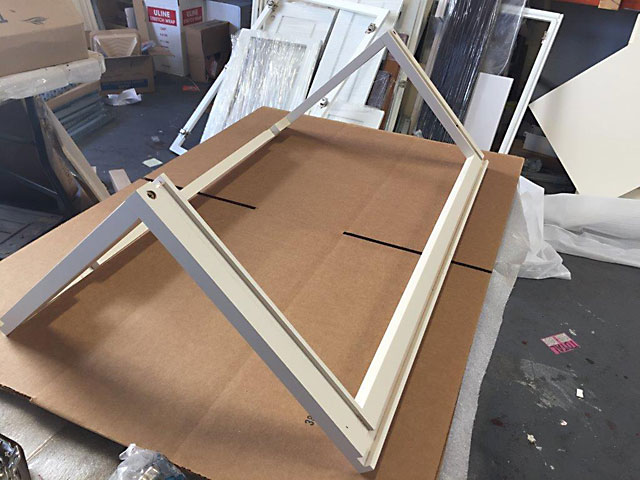
Place side panels into the grooves (dadoes) of the face frame making sure to align the grooves (dadoes) to the top and bottom panels.
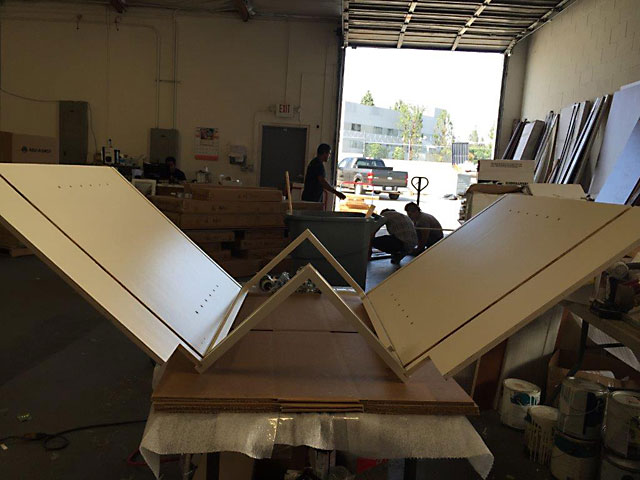
Insert bottom panel into grooves (dadoes).
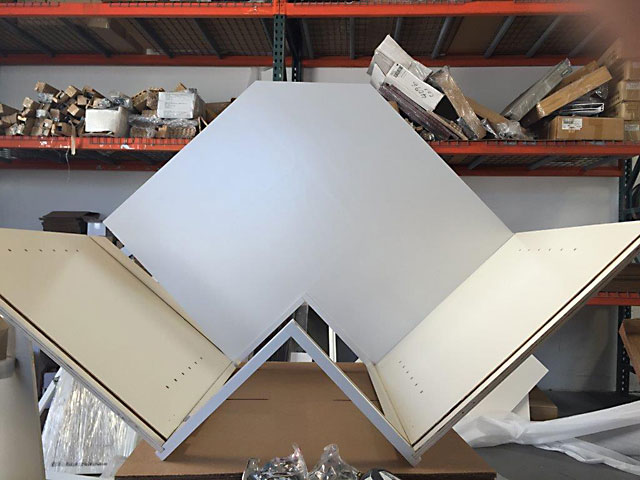
Place brackets into position where the face frame meets the side panels.
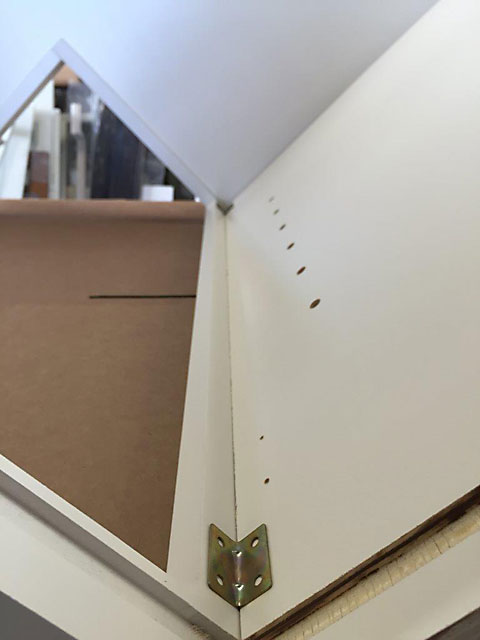
Attach all four brackets connecting the face frame to the sides.
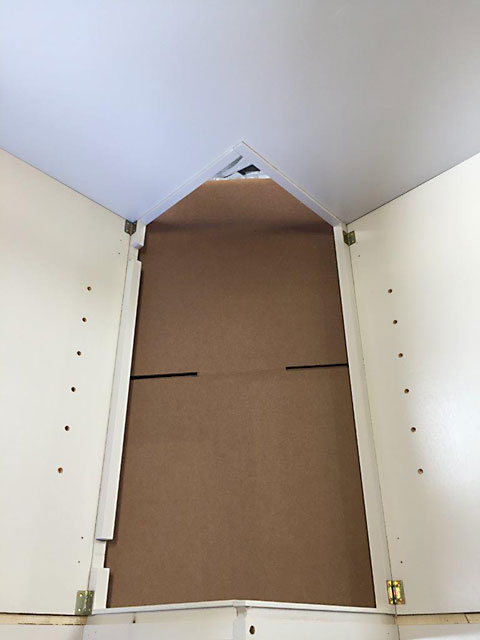
Slide top panel into place.
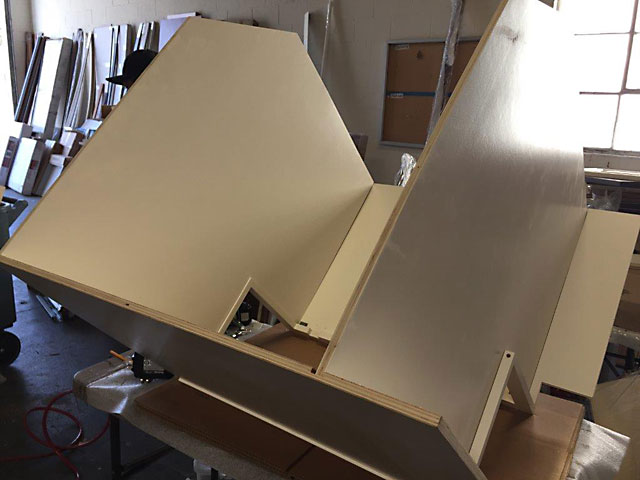
Slide back panel into place. Attach the plastic shelf holder and install the shelf.
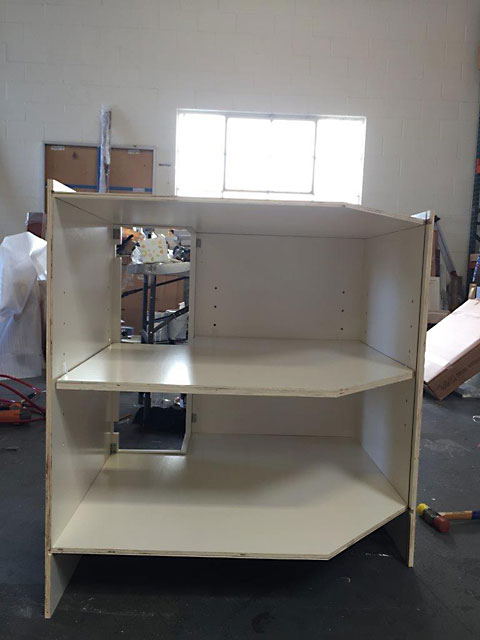
Attach lazy susan trays to bottom panel and middle shelf.
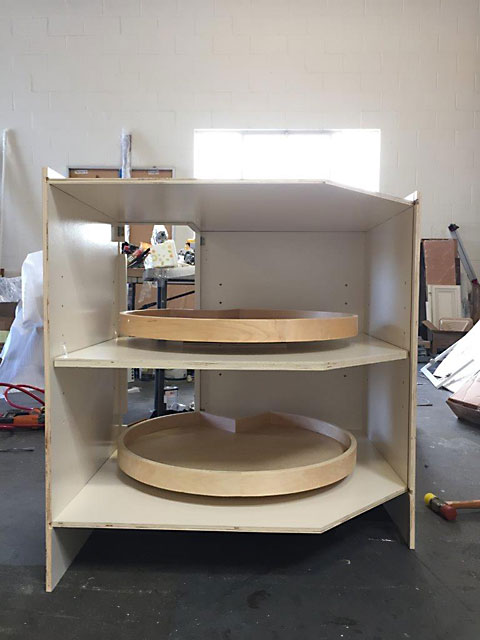
Place second back panel into place.
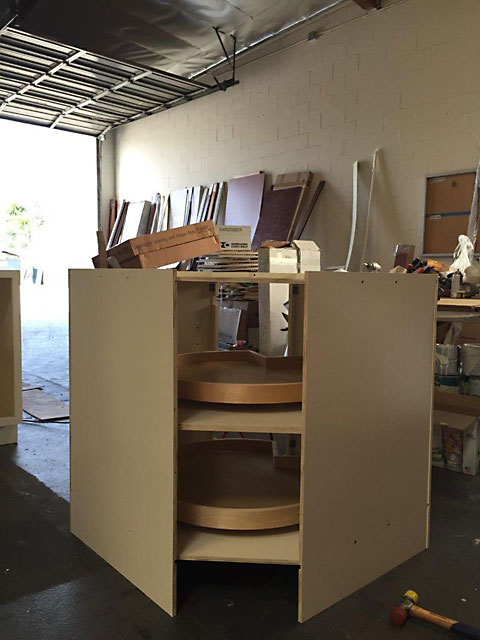
Attach hinges to bi-fold doors.
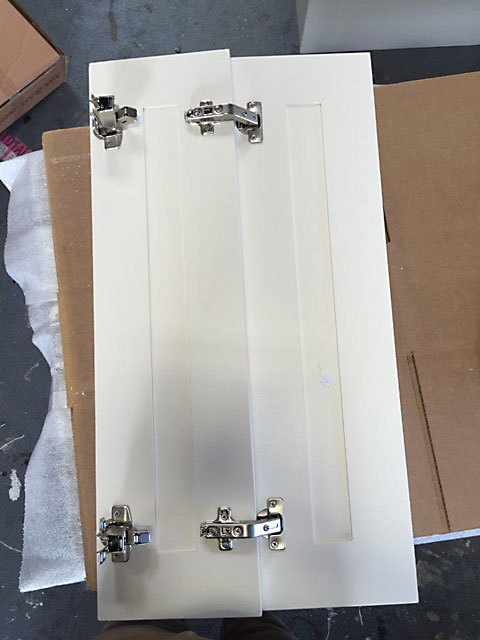
Attach door hinges to frame on side where the face frame is notched for the hinges.
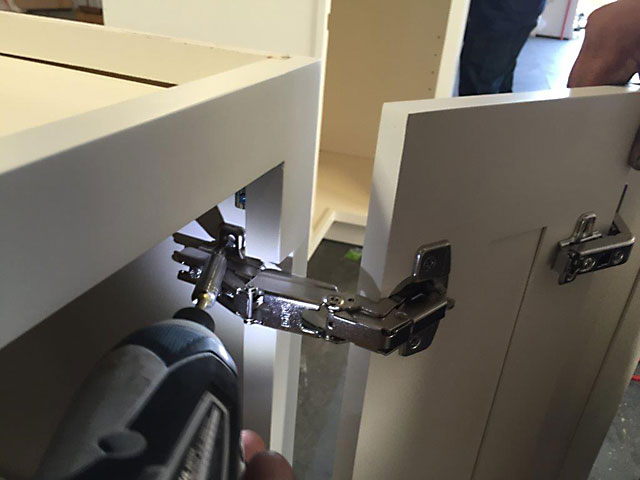
Make sure the doors are properly attached to the frame of the cabinet.
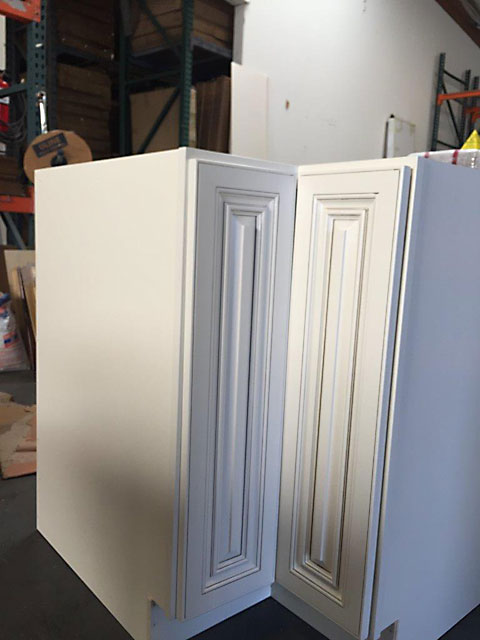
Slide angled back panel into place.
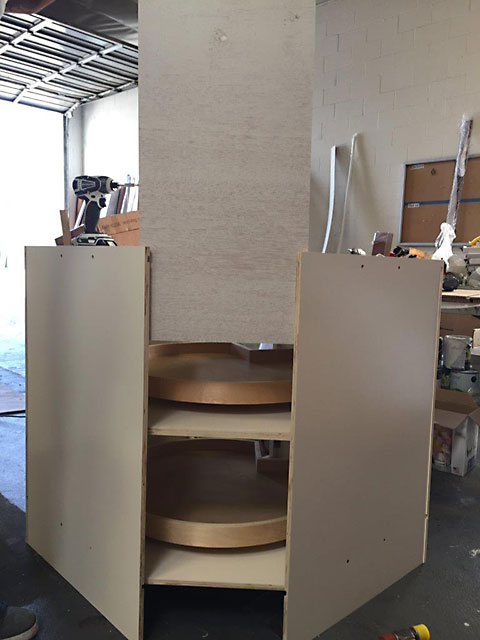
Secure angled back panel to top panel and bottom panel with supplied screws.
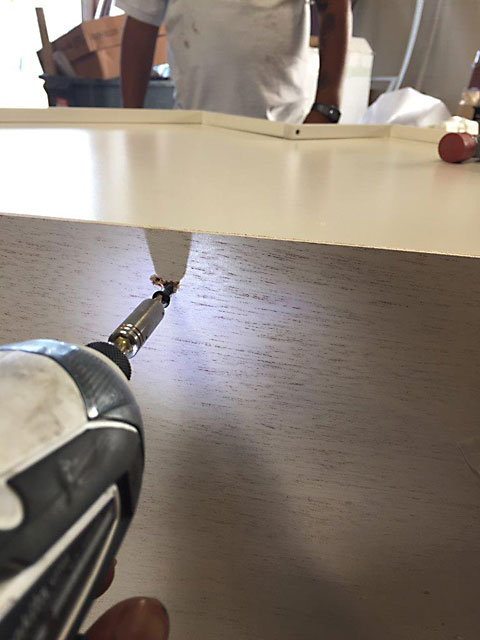
Reinforce panel assembly with 3/4" screws attaching side panels to back panels.
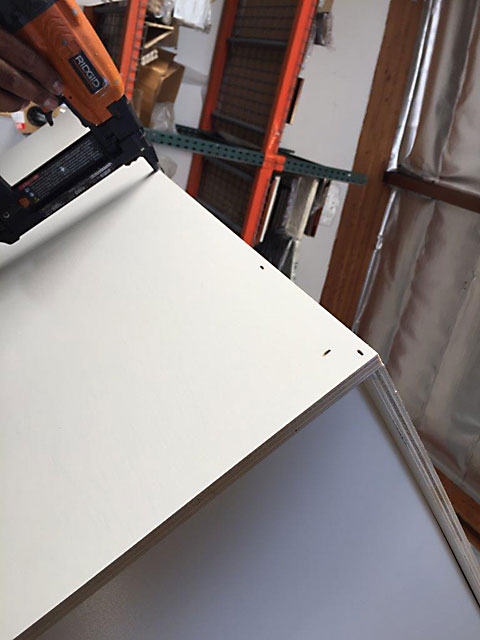
Wall Cabinet
Remove door and hinges and slide side panels into the grooves (dadoes) of the face frame.
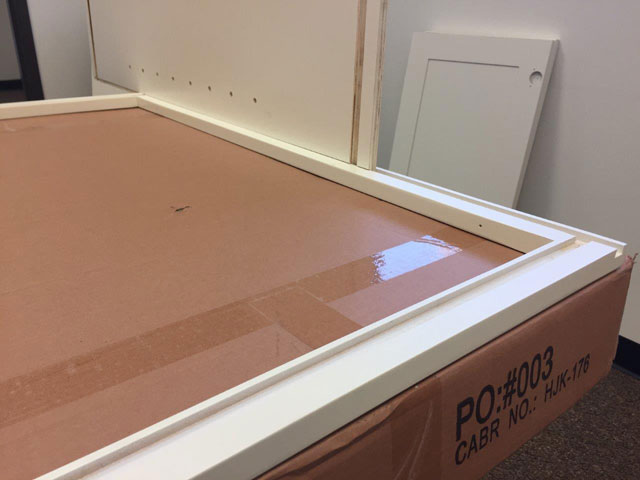
Make sure the grooves (dadoes) align with the face frame to accept the top and bottom panels.
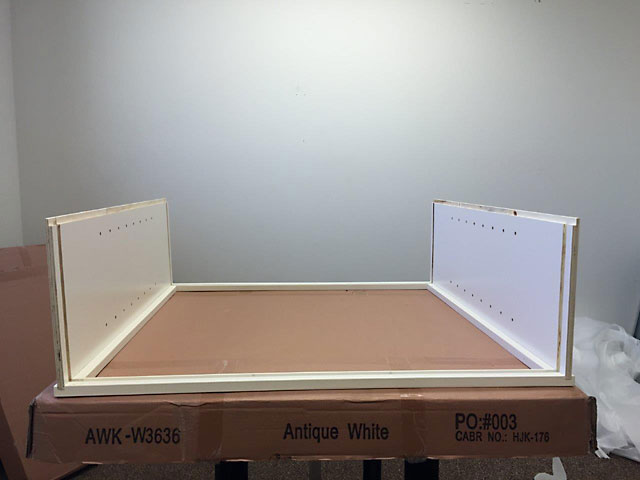
Secure both panels to the face frame using the 4 enclosed brackets.
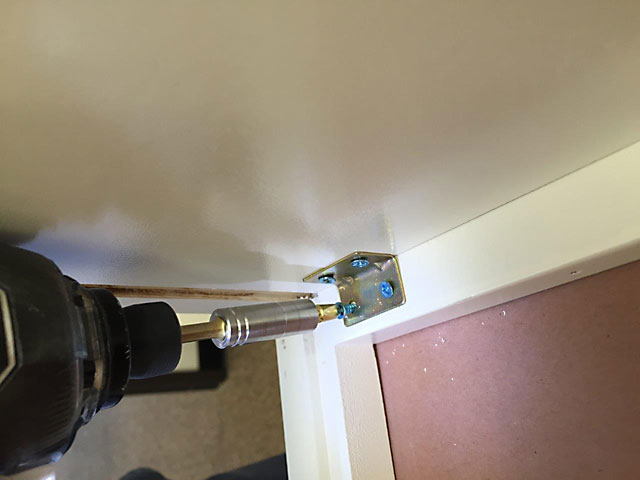
Slide the top and bottom panels of the cabinet into the grooves (dadoes) of the side panels and face frame.
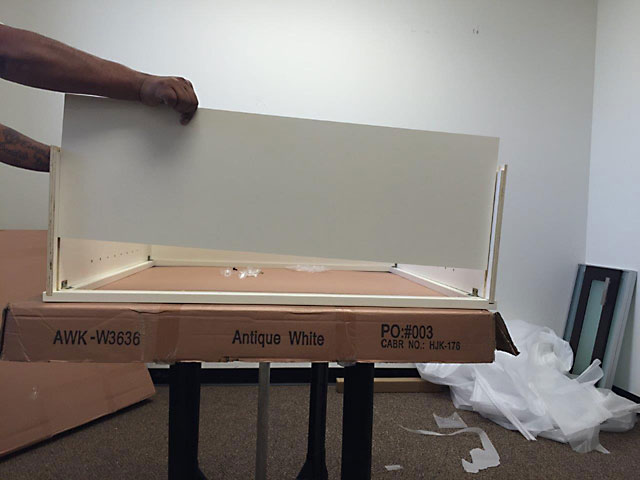
Put the back panel into place.
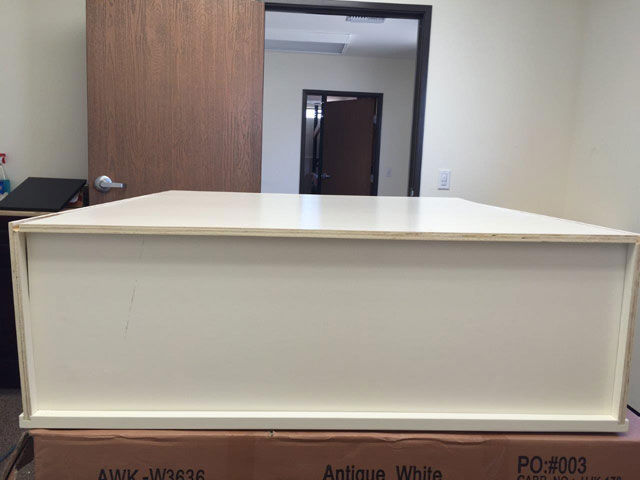
Make sure the box is adjusted properly and square.
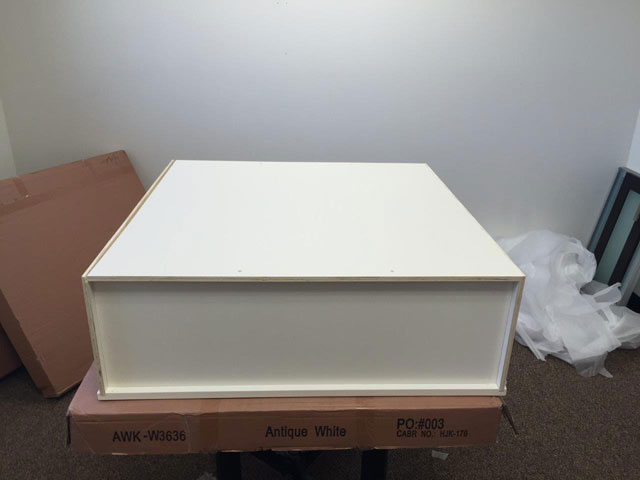
Secure the back panel into the top and bottom panels using the four supplied screws.
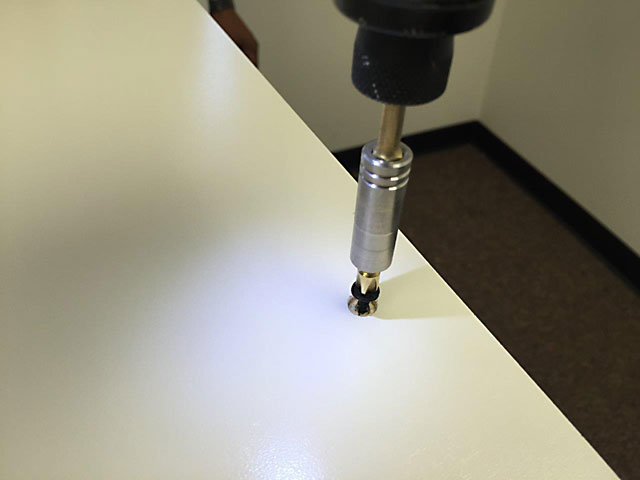
Secure the side panels to the back panel using qty 3 - 3/4" staples on each side.
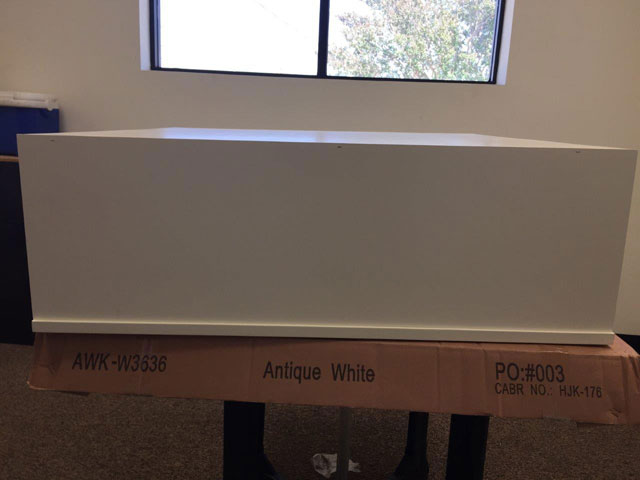
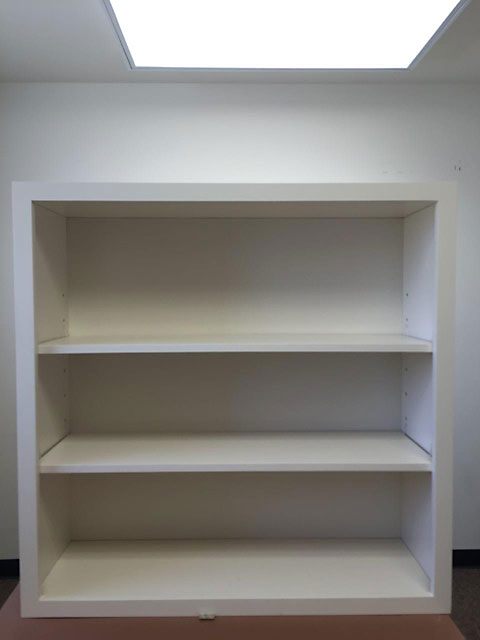
Attach the plastic shelf holders into the inside holes and install the shelves.
Attach the door and hinges to the cabinet box to complete assembly.
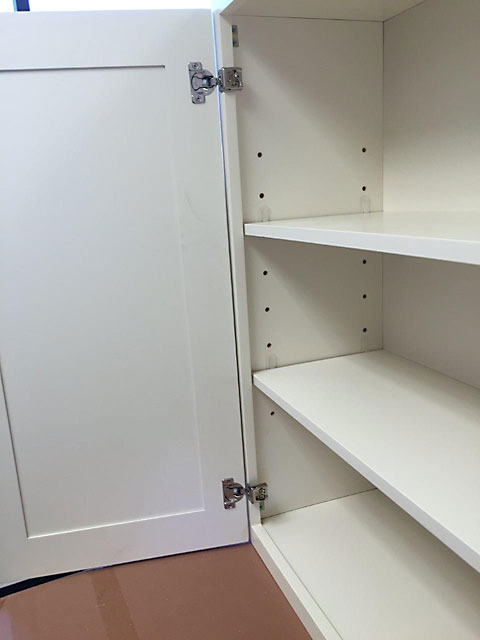
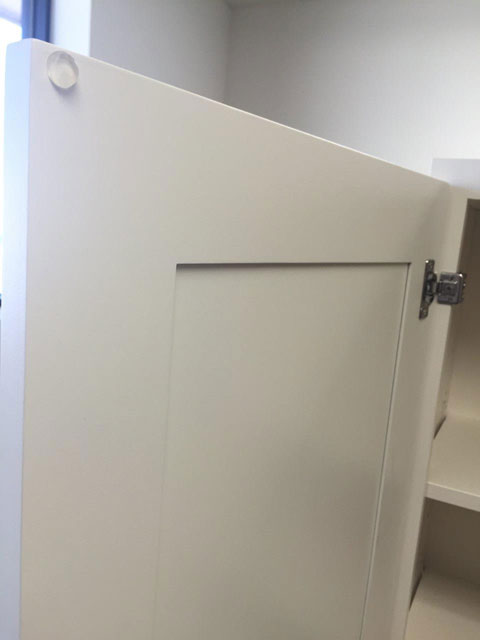
Peel and stick the enclosed rubber bumpers to protect the door from hitting the face frame.
